
Design your Christmas cards in Photoshop
We have a unique opportunity to surprise our loved ones and say with a Christmas card “Look, I was thinking about you.” Today, with mobile phones, emails and text messages, the classic forms of communication go, unfortunately, background.
Let’s see, step by step, how to make a Christmas card in an easy way with Photoshop. This tutorial has been created by OvernightPrints.es
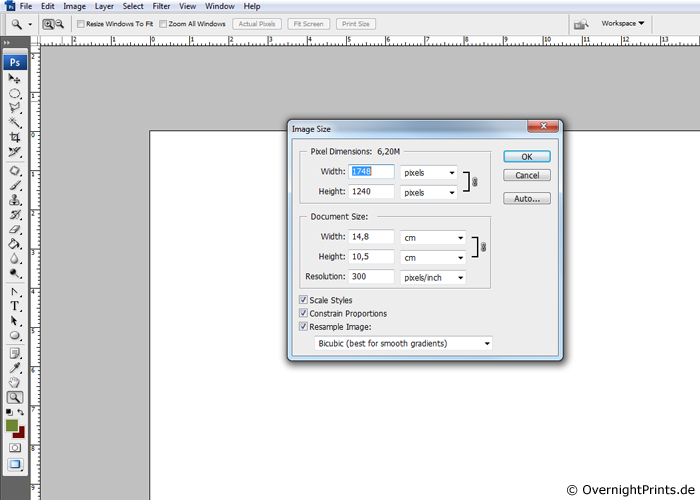
1
Photoshop image editor offers a multitude of possibilities to create Christmas cards. We take that program and open a new document by clicking upper left first. We select DIN A6 format – the usual format for cards. Please also note the resolution. To prevent your Christmas card comes with poor quality, the resolution should be at least 300 dpi.
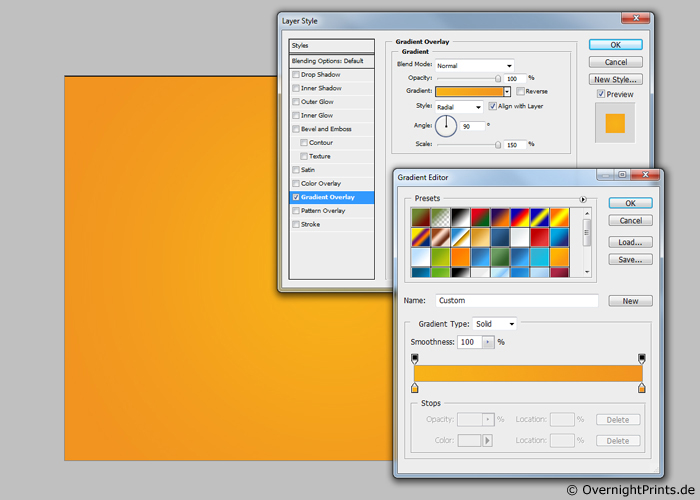
2
The next step is to create the background. Choose a color – we chose yellow. The new layer that you create with the keyboard combination Shift + Ctrl + N must be with circular gradient.
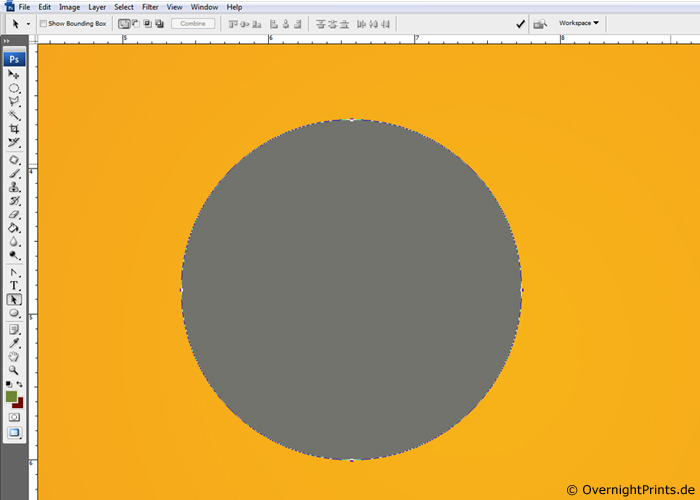
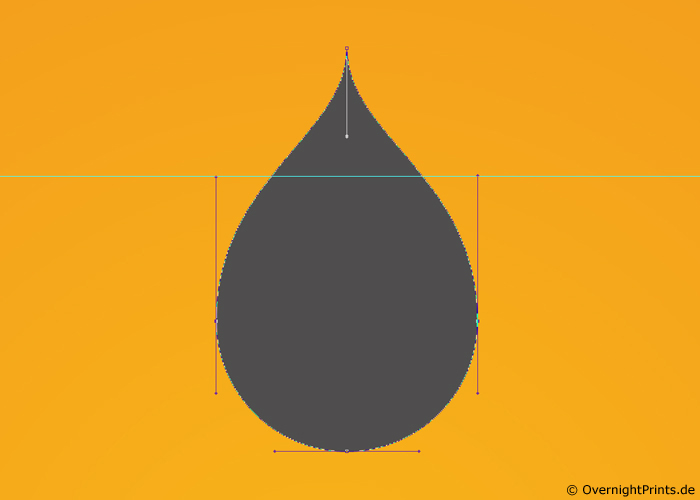
3
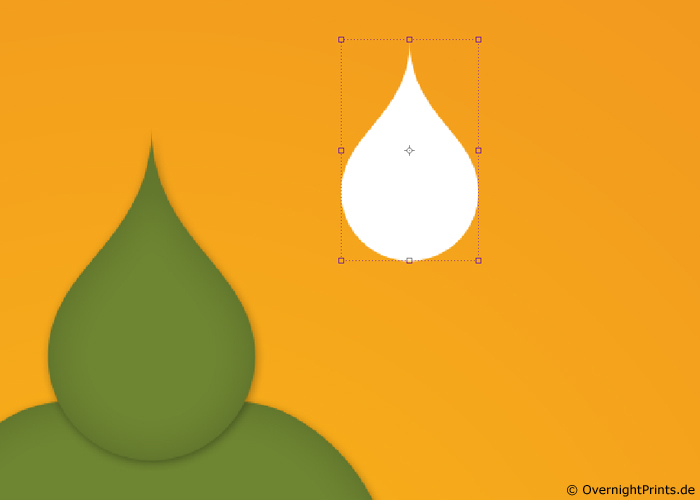
We design a circle like a base element. Choose the elliptical marquee tool. To create a perfect circle, hold down the Shift key as you drag.
4
Use the “direct selection” tool on the menu bar on the left and click on the anchor point above the circle. You should now see the line at the point of intersection above and in the right and left side of the circle.

5
Drag the anchor point up and hold the Shift key pressed. Now you look like a top is forming.
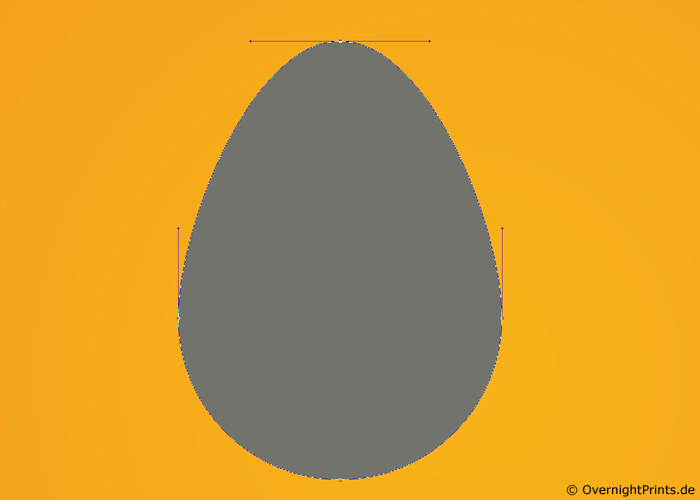
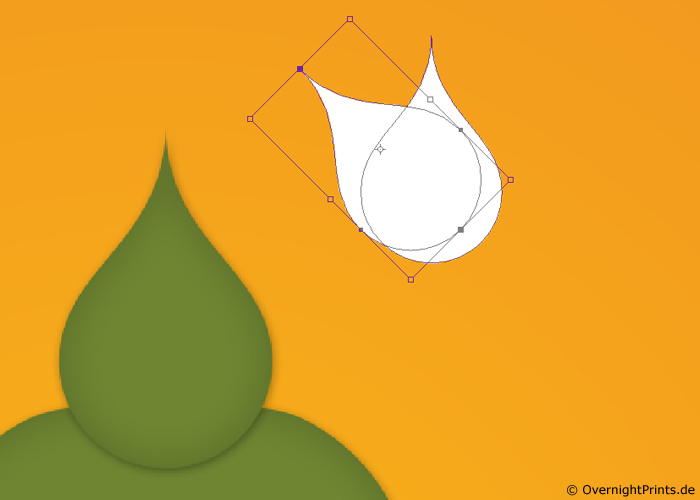
6
Choose “Convert Anchor Point” and click on the point above. That will convert the smooth point into a corner point. Drag both lines to the left and right side down, pressing Shift key.

7
Click on the two anchor points on the right and left through the “Direct Selection” tool and turn the two points so that the tip is down. Through the auxiliary lines you can see that both points are online.
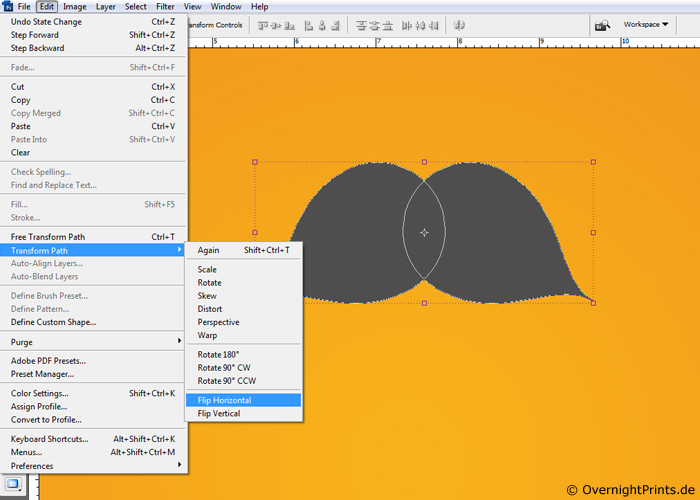
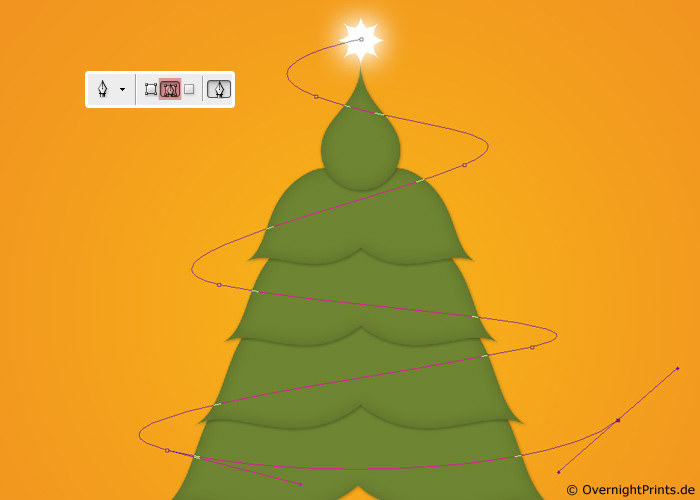
8
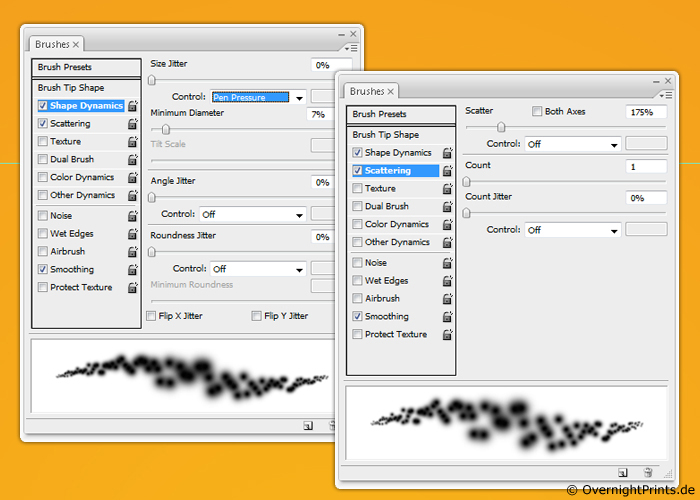
We use the black arrow tool, click on the layout, pressing the Alt key, and copy down the path. A new shape is added.

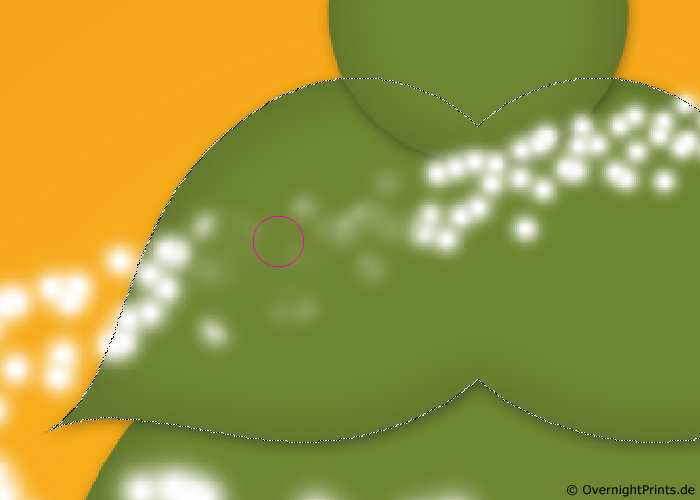
9
With black arrow tool we chose the right path and, through adapting and transforming, we select Flip Horizontal. With a double click on the layer we open another window. We click on the following points: “Drop Shadow and dark” and “Inner Glow”. Also, we change the color and choose a green, for example # 6e8532.
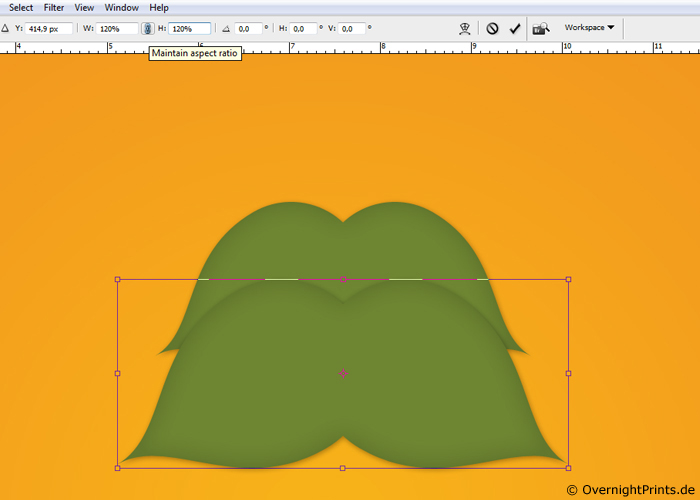
10
To approach our Christmas tree, we duplicate the layer and extend it in 120%.
11
Repeat this step three times.

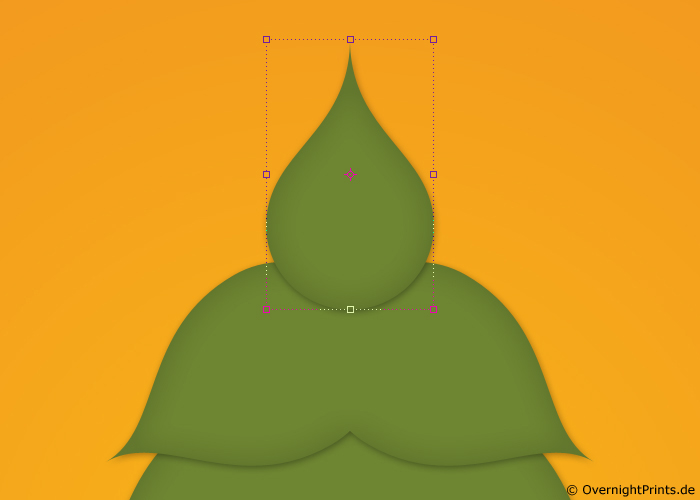
12
To give the Christmas tree a tip, repeat steps 6 and 7. Use the same color and the same layer properties used with the other elements.
13
Now we duplicate the layer and then delete the layer style.
14
To perfect the tip, we use the “Select path components” tool, duplicating the shape and rotating it 45 degrees.
15
If we repeat the previous step several times, we will get the Christmas star to place on the top of the tree.

16
For the star shining, double-click the layer and choose “outer glow” in Layer Style. The highlight color is white, the size should be about 70 px.

17
Very important in this step it is to change the tool: up on the bar menu we select “paths”. We create a new layout, with arches to create garlands of lights.
18
Now we have to prepare the brush. We choose Brush tool in the options bar. Then we adjust the properties from ” Brush Properties”. Here we choose “pen pressure”, you can also change the spread if you like.
19
We create a new empty layer through the menu bar. By selecting path components (black arrow) tool, click on the track (step 17). With the right mouse button to show the options we select “Stroke Path” option and choose the Brush tool.

20
To seem realistic the ray of light, we use the eraser tool. We remove the points of light that are located directly on the tree, so it looks like garland lights circles the tree.
21
We continue to refine the tree. Now we can add more points and stars. We have the Christmas card ready. If you want, you can add text to your postcard.


This Post Has 0 Comments